
Hello,
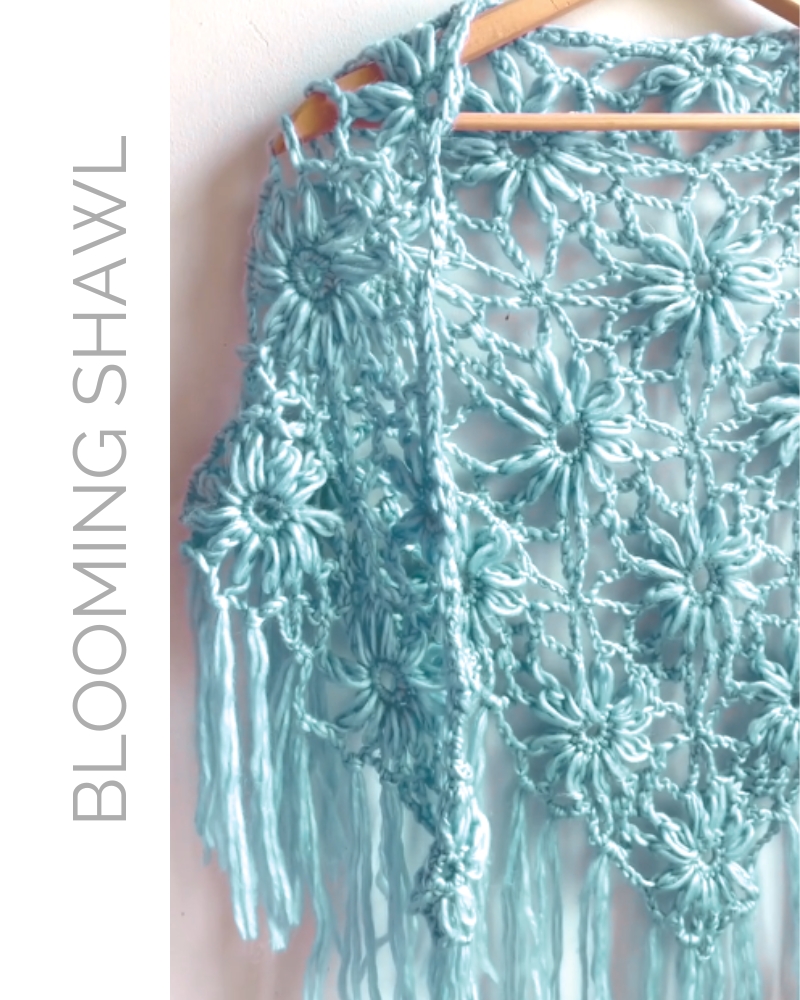
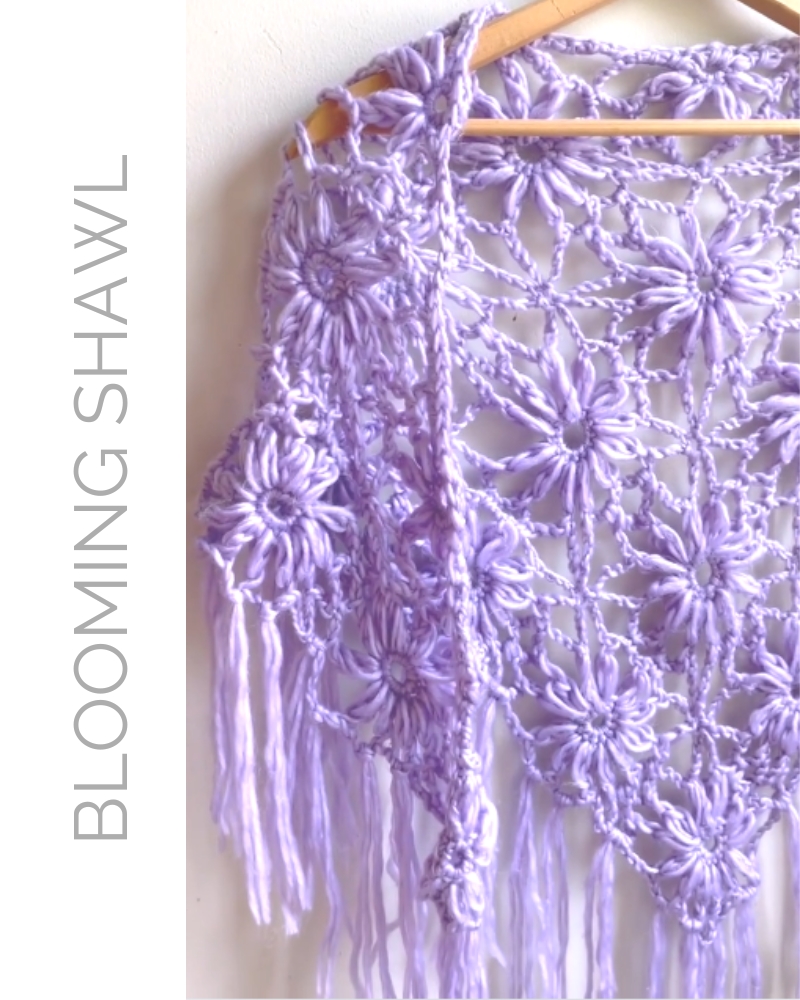
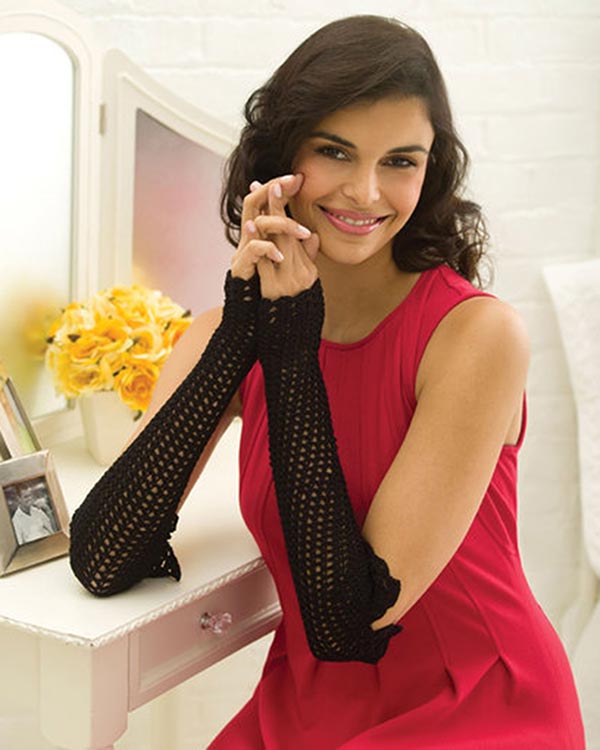
This is one of the most beautiful and practical designs I’ve ever created. When crafted with a lighter cotton blend yarn, it’s perfect for layering over a sundress. With a heavier yarn, it keeps you warm while looking stunning in cooler weather. I’m always delighted to see your finished projects!
The full, detailed 20-page pattern, complete with step-by-step instructions, video links, diagrams, and photos, is available for purchase on maggiescrochet.com, Etsy, Ravelry, and Lovecrafts.
Please share pictures of your finished work! Contact links can be found on the last page of this pattern. Enjoy your crochet—it’s such a blessing!
Hugs, Maggie
Please see below for step-by-step video tutorials on making the Blooming Shawl, including versions for both left and right-handed crocheters.
Right Handed Tutorial:
Left Handed Tutorial:
Details on Stitches Used in the Pattern
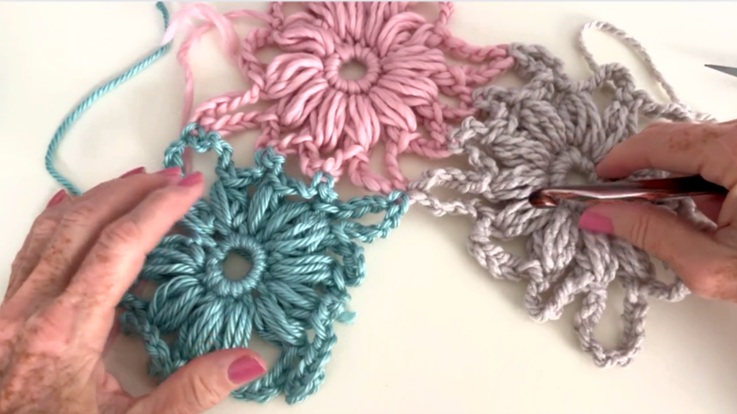
Puff Stitch: The puff stitch adds a soft, raised texture that enhances your crochet projects with a decorative touch. Here’s how to create it:
- Yarn Over (YO): Begin by yarning over the hook.
- Insert Hook and Draw Up a Loop: Insert the hook into the designated stitch or space. Yarn over again and pull up a loop to the height of a double crochet. You should now have three loops on your hook.
- Repeat: Yarn over, insert the hook into the same stitch or space, yarn over, and pull up another loop to the same height. You now have five loops on your hook.
- Repeat Again: Continue this process until you have 5-7 loops on your hook, depending on how full you want the puff stitch to be.
- Yarn Over and Pull Through All Loops: Yarn over one last time and pull through all the loops on your hook.
- Chain 1: Chain 1 to secure the puff stitch, helping it to hold its shape.
The puff stitch is now complete. Follow your pattern to create additional puff stitches or other stitches as needed.
Join As You Go (JAYG) Technique
The Join As You Go (JAYG) technique lets you connect motifs, such as granny squares, as you complete each one, eliminating the need for sewing them together later. This creates a seamless, time-saving finish. Here’s how it works:
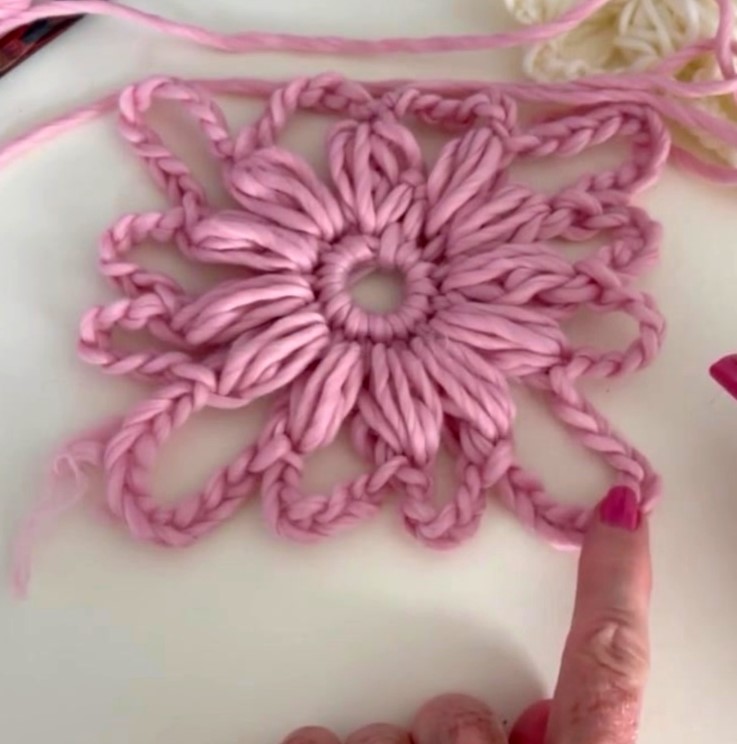
- Crochet the First Motif: Start by crocheting your first motif (e.g., a granny square) and finish it completely. In this Blooming Shawl design, Motif #1 will look like this:
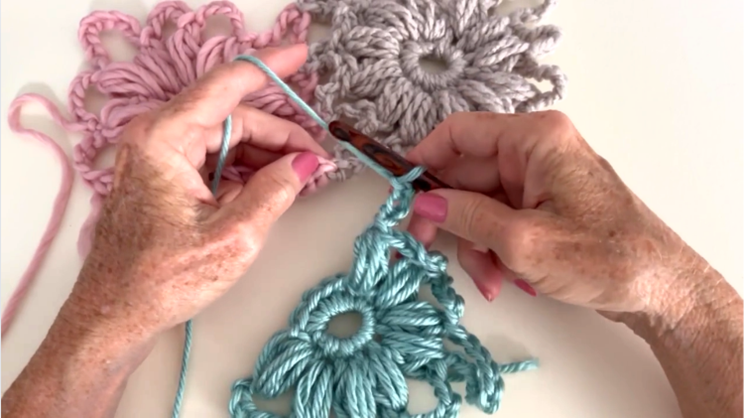
2. Begin the Next Motif: Start your second motif, working it up to the point where it needs to be joined to the first motif, usually leaving the last round incomplete.
3. Join While Completing the Last Round:
- Approach the Join Point: When you reach the spot where the motifs connect, insert your hook into the corresponding stitch or space on the edge of the first motif.
- Complete the Join: Yarn over, pull through both the stitch on the first motif and the loops on your hook, connecting the two motifs.
4. Continue Joining: Repeat this process at each connection point, usually at corners and sides, until the motifs are joined. The exact method may vary depending on the pattern.
5. Finish the Second Motif: After joining all necessary points, finish the second motif. Continue this process, joining additional motifs as you go.
The JAYG technique is ideal for projects like blankets, scarves, or garments that are made from multiple motifs, as it saves time and creates a seamless look.
Adding Fringe to Your Shawl
Adding fringe to the edge of a crochet shawl can give it a beautiful, finished look, whether bohemian or elegant. Here’s how to create and attach fringe:
Materials:
- Yarn: The same yarn used for the shawl or a contrasting one.
- Scissors: For cutting yarn.
- Crochet Hook: To pull yarn through the shawl’s edge.
- Measuring Tape or Ruler: To measure fringe length.
Instructions:
- Decide on Fringe Length:
- Choose the desired length. Remember to cut yarn pieces at twice this length. For a 4-inch fringe, cut each piece to 8 inches.
- Cut Yarn Strands:
- Cut multiple strands to your desired length. The number of strands per fringe will determine how full it looks, typically using 2-4 strands per fringe.
- Group the Strands:
- Group the strands together to form each fringe. For a thicker fringe, use more strands; for a lighter fringe, use fewer.
- Attach the Fringe:
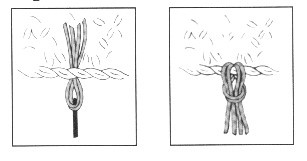
- Fold the Strands: Fold a group of strands in half, creating a loop at the top.
- Insert Hook: Insert your hook into the shawl’s edge where you want the fringe. You can space the fringes evenly or create a pattern.
- Pull Through the Loop: Place the folded loop over the hook, pull it through the stitch, and pull the loose ends through the loop, tightening to secure.
- Continue Adding Fringe:
- Repeat the process along the edge, spacing fringes for a consistent look. You can place them close together for a dense fringe or farther apart for a more delicate effect.
- Trim the Fringe:
- Lay the shawl flat and trim the fringe to your desired length. You can cut straight, at an angle, or in a V-shape for a unique finish.
Variations:
- Twisted Fringe: Twist each fringe before attaching for added texture.
- Beaded Fringe: Add beads to the strands for decoration.
- Layered Fringe: Create fringe at varying lengths for a textured effect.
Fringe adds a playful, stylish finish to your shawl, making it both beautiful and functional.
Fringe Instructions:
- Cutting Yarn: Wrap yarn around a 3″x8″ piece of cardboard lengthwise until it’s full.
- Forming Fringe: Hold together four strands of yarn, fold in half, and attach as described above.
- Attaching Fringe: With the wrong side of the shawl facing, draw the folded end through a stitch on the edge, then pull the loose ends through the loop to tighten.
- Spacing: Attach fringe groups evenly across the shawl edges, then lay flat and trim the ends.

Link to Purchase Pattern:

No Comments