
In my dining room I have the cutest white rooster hook rack. I can’t remember where I bought it but I just love it. On the hooks I have several of my favorite vintage potholders. The Round Rose Potholder is a vintage design that I found at an antique show. Try this in a variety of crochet cotton thread colors to brighten up your kitchen décor.
Note: This vintage potholder is for decorative use only. If you pad between the back and front with Mylar lined fabric you could use this potholder and not get burned.
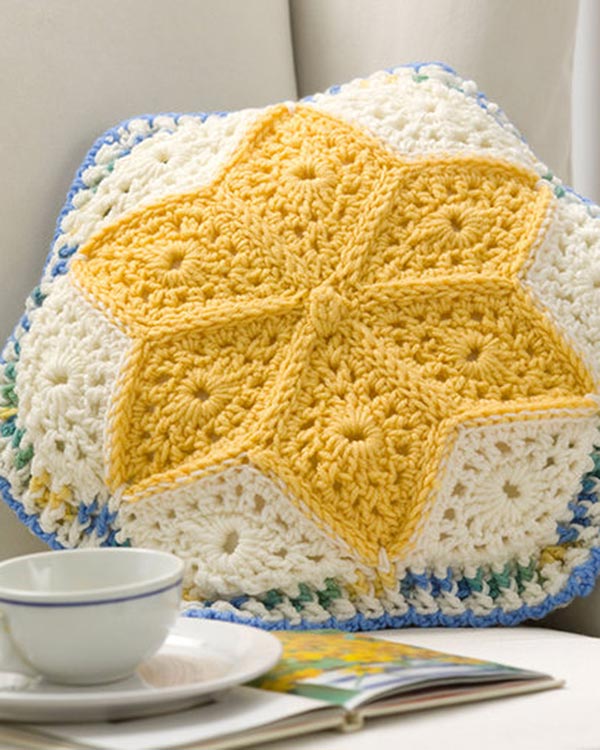
Round Rose Potholder
FP339
Edited By: Maggie Weldon
Copyright 2011 Maggie Weldon
Skill: Easy
Size: About 5 ½ inches diameter
Materials: Size 10 Cotton Thread: White (250 yds), Red (25 yds) & Green (10 yds)
Crochet Hook: Size 7 (1.65 mm).
JOINING WITH SC
When instructed to join with sc, begin with sl knot on hook, insert hook in st or sp indicated, yo and pull up a loop, yo and draw through both loops on hook.
SIDES (Make 2)
Rnd 1: Starting at top, with W, ch 10, sl st in first ch to form ring, ch 3 (counts as first dc now and throughout), 23 dc in ring; join with sl st to first dc. JOIN ALL DC RNDS IN THIS MANNER. DO NOT TURN EACH RND. (24 dc)
Rnd 2: Ch 3, dc in same dc as joining, (2 dc in next dc) around; join. (48 dc)
Rnd 3: Ch 3, dc in same dc as joining, dc in next 2 dc, (2 dc in next dc, dc in next 2 dc) around; join. (64 dc)
Rnd 4: Ch 3, dc in next 2 dc, 2 dc in next dc, (dc in next 3 dc, 2 dc in next dc) around; join. (80 dc)
Rnd 5: Ch 3, dc in next 3 dc, 2 dc in next dc, (dc in next 4 dc, 2 dc in next dc) around; join. (96)
Rnd 6: Ch 3, dc in next 10 dc, 2 dc in next dc, (dc in next 11 dc, 2 dc in next dc) around; join. (104 dc)
Rnd 7: Ch 3, dc in next 11 dc, 2 dc in next dc, (dc in next 12 dc, 2 dc in next dc) around; join. (112 dc)
Rnd 8: Ch 3, dc in next 12 dc, 2 dc in next dc, (dc in next 13 dc, 2 dc in next dc) around; join. (120 dc)
Rnd 9: Ch 3, dc in next 22 dc, 2 dc in next dc, (dc in next 23 dc, 2 dc in next dc) around; join. (125 dc)
Rnd 10: Ch 3, dc in next 23 dc, 2 dc in next dc, (dc in next 24 dc, 2 dc in next dc) around; join. (130 dc) Finish off and weave in ends.
FLOWER
Rnd 1: (Right Side) Starting at center, with Red, ch 10, sl st in first ch to form ring; ch 1, 25 sc in ring; join with sl st to first sc. (25 sc)
Rnd 2: Ch 1, sc in first sc, ch 5, (skip next 4 sc, sc in next sc, ch 5) rep from * around; join. (6 ch-5 lps)
Rnd 3: Ch 1, (sc, hdc, 3 dc, hdc, sc) in each ch-5 lp around; join. (5 petals)
Rnd 4: * Ch 7, working behind petals, sl st between next 2 petals, rep from * around. (5 ch-7 lps)
Rnd 5: Ch1, (sc, hdc, 6 dc, hdc, sc) in each lp around, join.
Rnd 6: * Ch 9, working behind petals, sl st between next 2 petals, rep from * around. (5 ch-9 lps)
Rnd 7: Ch 1, (sc, hdc, 8 dc, hdc, sc) in each lp around; join. Finish off and weave in ends.
LEAVES (Make 3)
Rnd 1: (Right Side) Starting at center, with Green, ch 9, sc in 2nd ch from hook, hdc in next ch, dc in next 5 ch, 4 dc in last ch, dc in next 5 ch, hdc in next ch, sc in last ch; join with sl st to first sc. Finish off and weave in ends.
Assembly – use photo as guide
– Using one Side, with right side facing, position center of Flower to center of Side and sew in place.
– Position and sew Leaves around Flower.
EDGING
Rnd 1: Using both Sides, with right sides facing (wrong sides together), working through both thicknesses, join Red with sc to any dc, (sc in next dc) around; join with sl st to first sc. (130 sc)
Rnd 2: Ch 12, sl st in same st as joining, 24 sc in ch-12 lp (Hanger), sc in next sc, * sc in next 2 sc, (sc ch 2, sc) in next sc; rep from * 42 times, sc in next 3 sc; join. Finish off and weave in ends.
All Rights Reserved ©2011 Maggie Weldon
Enjoy,
Maggie

No Comments