Barbara Wrote: “I have been crocheting off and on for 50 years. My favorite projects are afghans. I enjoy crochet better than knitting because the results are faster. I have never designed anything before so I was glad for the extra push this project gave me. When I crochet an item for a relative or anyone, I have a visual image of that person all the way through the project. I have one granddaughter that will learn crocheting very shortly as she is now 10 years old.”
Barbara,
Thank you for sharing your story and your beautiful dishcloth design in this challenge. You did a great job on your first design!
– Maggie
Follow me onto dishcloth #49 and the rest of the story…
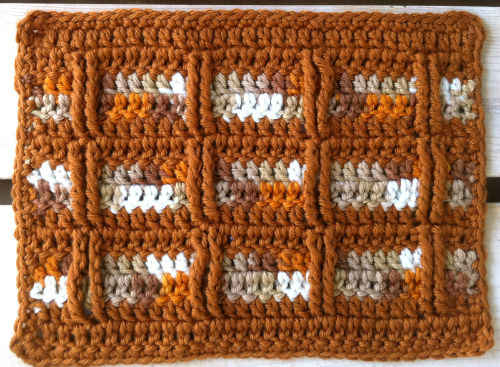
Windows Dishcloth
FD048
Original Design By: Barbara Macksey
Copyright 2011 Maggie Weldon
Skill: Easy
Size: About 8½” wide, 7” long.
Materials: Worsted Weight Cotton Yarn:
Gold – 2 oz, 95 yds (57 g, 86 m)
Ombre – 2 oz, 95 yds (57 g, 86 m)
(I Love This Cotton – Antique Gold #80, Taupe Ombre #50)
Crochet Hook: Size F-5 (3.75 mm)
Special Stitches
Front Post Quad Treble (FPqtr): Yo hook 5 times, insert hook from right to left around post of next dc 3 rows below, pull up a loop, yo, work off 2 lps at a time until only one lp remains on hook.
Note: When FPqtr is worked, do not work st directly behind FPqtr. Skip this st and work in the next st.
Dishcloth
Row 1: (Right Side) With Gold, ch 34, dc in 4th ch from hook (skipped ch counts as first dc), (dc in next ch) across. (32 dc)
Row 2: Ch 3 (counts as first dc now and throughout), turn, (dc in next dc) across. Change color to Ombre, drop Gold.
Rows 3-4: With Ombre, ch 3, turn, (dc in next dc) across.
At the end of Row 4, pick up Gold and drop Ombre.
Row 5: With Gold, ch 3, turn, dc in next 2 dc, (FPqtr in next 2 dc (3 rows down), dc in next 6 dc) 3 times, FPqtr in next 2 dc, dc in last 3 dc.
Row 6: Ch 3, turn, (dc in next st) across. Pick up Ombre and drop Gold.
Rows 7-14: Rep Rows 3-6 twice.
At the end of Row12, finish off Ombre and weave in ends.
At the end of Row 14, DO NOT FINISH OFF.
Edging
Rnd 1: Ch 1, turn, (right side facing), 3 sc in first dc, (sc in next dc) across to last dc, 3 sc in last dc; * working in sides of rows, evenly work 20 sc *; working in unused lps of starting ch, 3 sc in first ch, (sc in next ch) across to last ch, 3 sc in last ch; rep from * to *; join with sl st to first sc. Finish off and weave in ends.
All Rights Reserved ©2011 Maggie Weldon
Enjoy,
Maggie


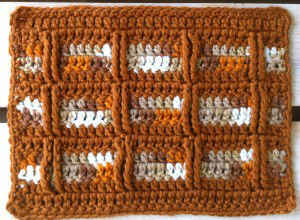
The way the stitches create the windowpanes is fun! Another high-success pattern!
thank you so much. great job.